
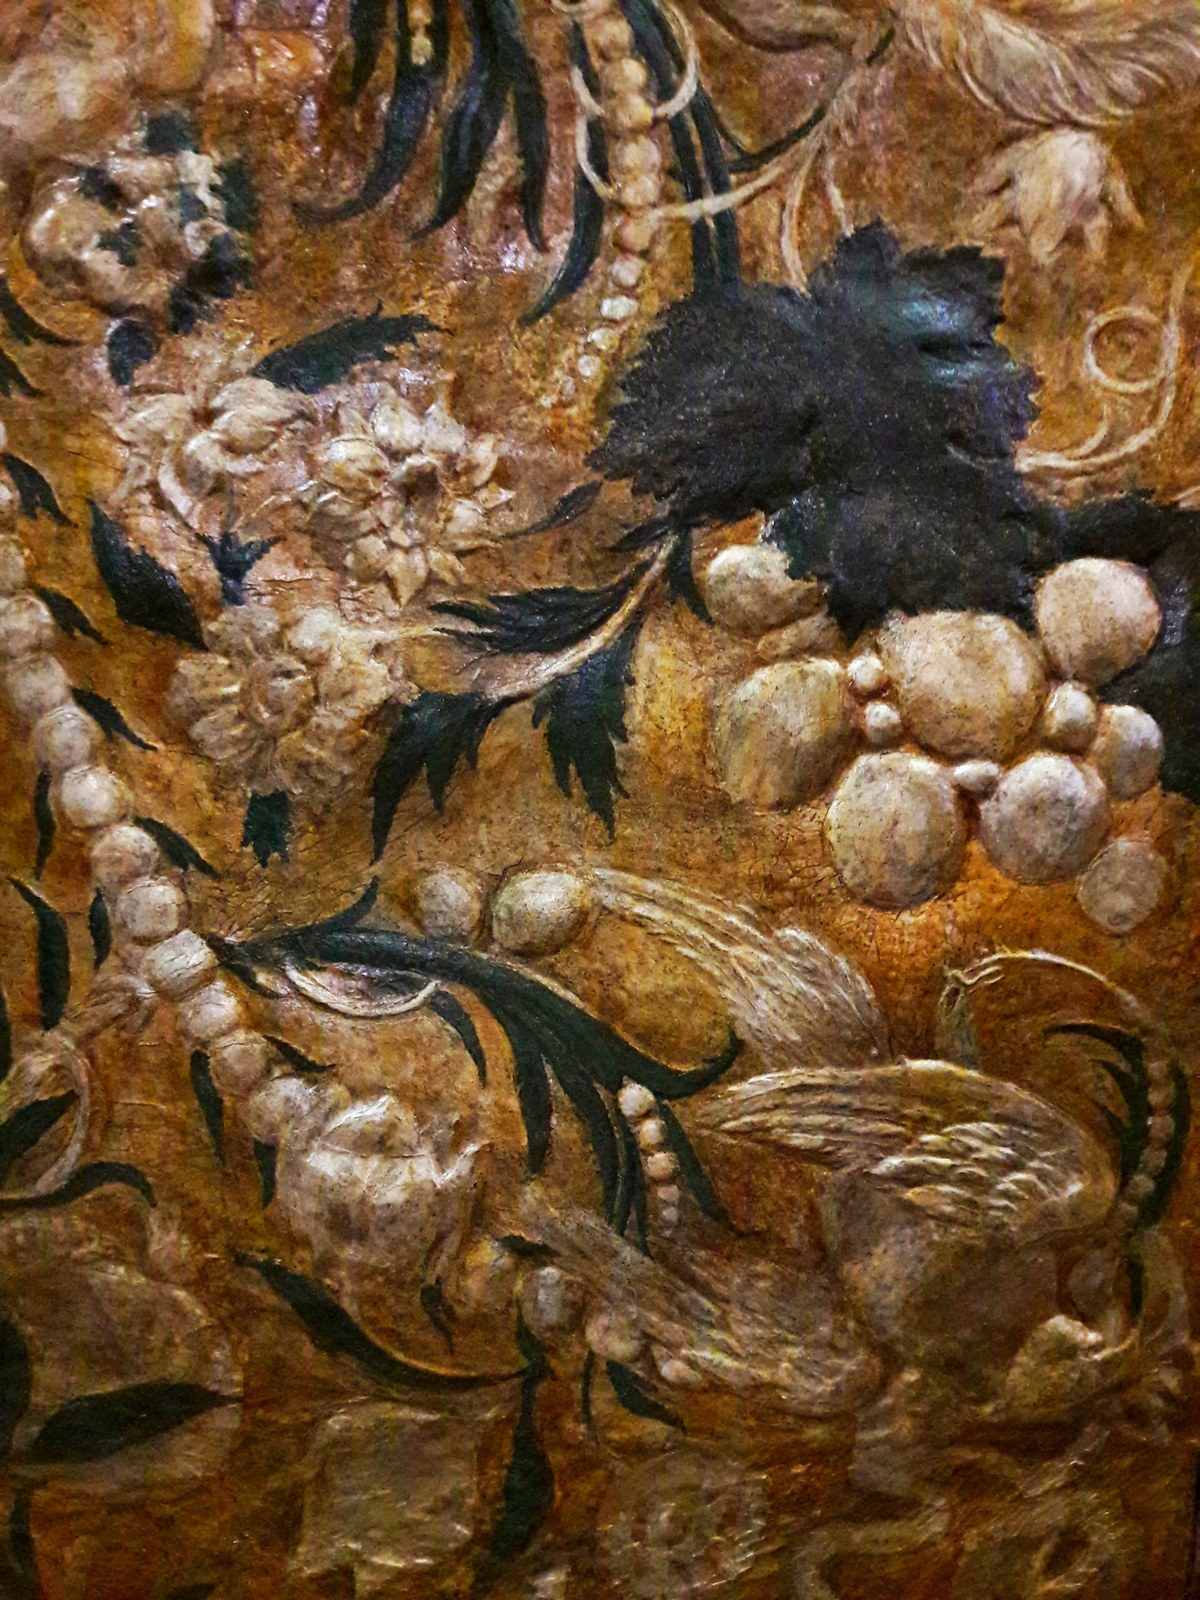
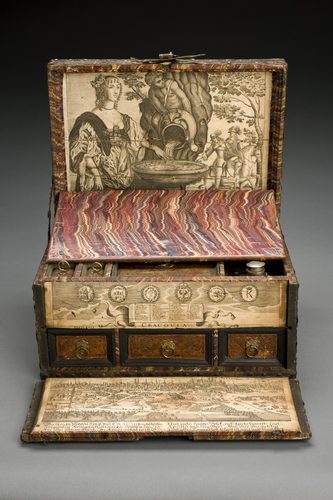
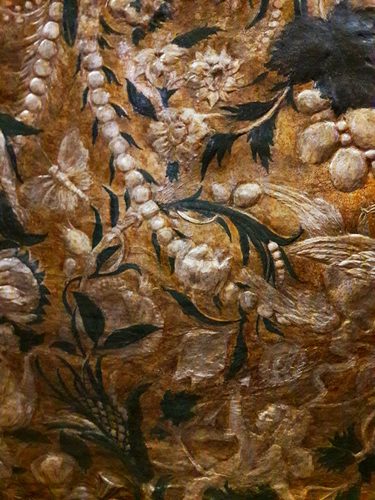
Leather art works tanned hide—usually vegetable-tanned cowhide—into decorated objects through tooling, carving, and embossing. The leather is dampened (cased) so it holds impressions, then a swivel knife cuts flowing outline strokes while metal stamps driven with a mallet add texture, shading, and beveled edges around the cut lines. Carving cuts deeper, separating design elements so they sit in visible relief once the leather dries and stiffens. Embossing instead presses a pattern from the back, raising a design without cutting. Finished pieces are dyed or antiqued to darken recesses and highlight raised areas, then sealed with wax or oil finish for durability and sheen. Common forms include belts, wallets, bags, saddles, holsters, bookbindings, and decorative boxes, ranging from restrained geometric stamping to dense floral scrollwork covering an entire surface.
What defines the medium
Casing before tooling
Leather is dampened with water and left to reach an even moisture level before any cutting or stamping begins. Cased leather holds a crisp, lasting impression, while dry or over-wet hide tears or springs back and loses detail.
Swivel-knife outlining
A rotating blade held nearly upright cuts the main design lines into the dampened surface, guiding every stamp that follows. The depth and angle of this cut controls how sharp the finished relief will read once beveled.
Stamping and beveling
Metal stamps struck with a wooden or nylon mallet push down background areas, round off cut edges, and add texture like basketweave or pebbling. Layering several stamp types builds the illusion of depth and shadow.
Vegetable-tanned hide
Firm, undyed vegetable-tanned leather is the standard choice because it holds tooled impressions crisply and darkens attractively with age and handling, unlike soft chrome-tanned leather, which resists tooling entirely.
Dyeing and antiquing
After tooling dries, dye or antique gel is worked into the surface and wiped back, settling into the lowered stamped areas to darken them while raised areas stay lighter, emphasizing the carved design.
Pattern and layout planning
Designs are traced from a paper pattern onto the leather before cutting begins, often built from repeating floral scrolls, geometric borders, or basketweave fields laid out to fit the object's finished shape.
Materials decoder
The toolkit of leather art
- swivel knife
- → a rotating-blade tool held upright to cut flowing outline strokes into dampened leather
- beveler stamp
- → a stamp struck with a mallet that rounds a cut edge, giving carved lines a raised, shadowed look
- pear shader
- → a background stamp that adds a soft, textured stipple to lowered areas around a design
- vegetable-tanned hide
- → firm, pale leather tanned with plant tannins, chosen because it holds tooled detail and darkens with age
- basketweave stamp
- → a repeating diagonal cross pattern struck across a surface to imitate woven material
- floral scroll motif
- → a dense pattern of vines, leaves, and flowers cut and stamped, the signature look of Western-style tooling
The story
Leather tanning and decoration date to ancient Egypt, where hides were dyed and cut for sandals and cases by 3000 BCE. Moorish Spain developed guadameci, gilded and tooled leather wall hangings and furnishings, from roughly the 10th century onward, exporting the technique across Europe. Medieval and Renaissance bookbinders tooled leather covers with heated stamps and gold leaf, a tradition refined in 16th-century France for collectors such as Jean Grolier. Coptic Egyptian binders had already produced tooled leather book covers centuries earlier. Leather tooling traveled to the Americas with Spanish saddlery, taking root in the vaquero and later American Western tradition of hand-tooled saddles, holsters, and belts through the 19th century. Hobbyist leathercraft expanded in the 20th century as tool and kit suppliers made stamps, dyes, and patterns widely available.
Masterpieces of the medium
| Work | Artist | Date | Why it matters |
|---|---|---|---|
| Guadameci Wall Hanging | Unknown | 14th–15th century | gilded and tooled leather panel from Moorish Spain |
| Grolier Binding | Unknown | c. 1540s | tooled and gilt leather bookbinding made for the collector Jean Grolier |
| Coptic Leather Bookbinding | Unknown | c. 7th century | early tooled leather binding from Egypt with incised geometric pattern |
| Spanish Tooled Leather Trunk | Unknown | 17th century | traveling chest covered in carved and stamped hide |
| Western Stock Saddle | Unknown | late 19th century | hand-tooled floral scroll pattern typical of American saddlery |
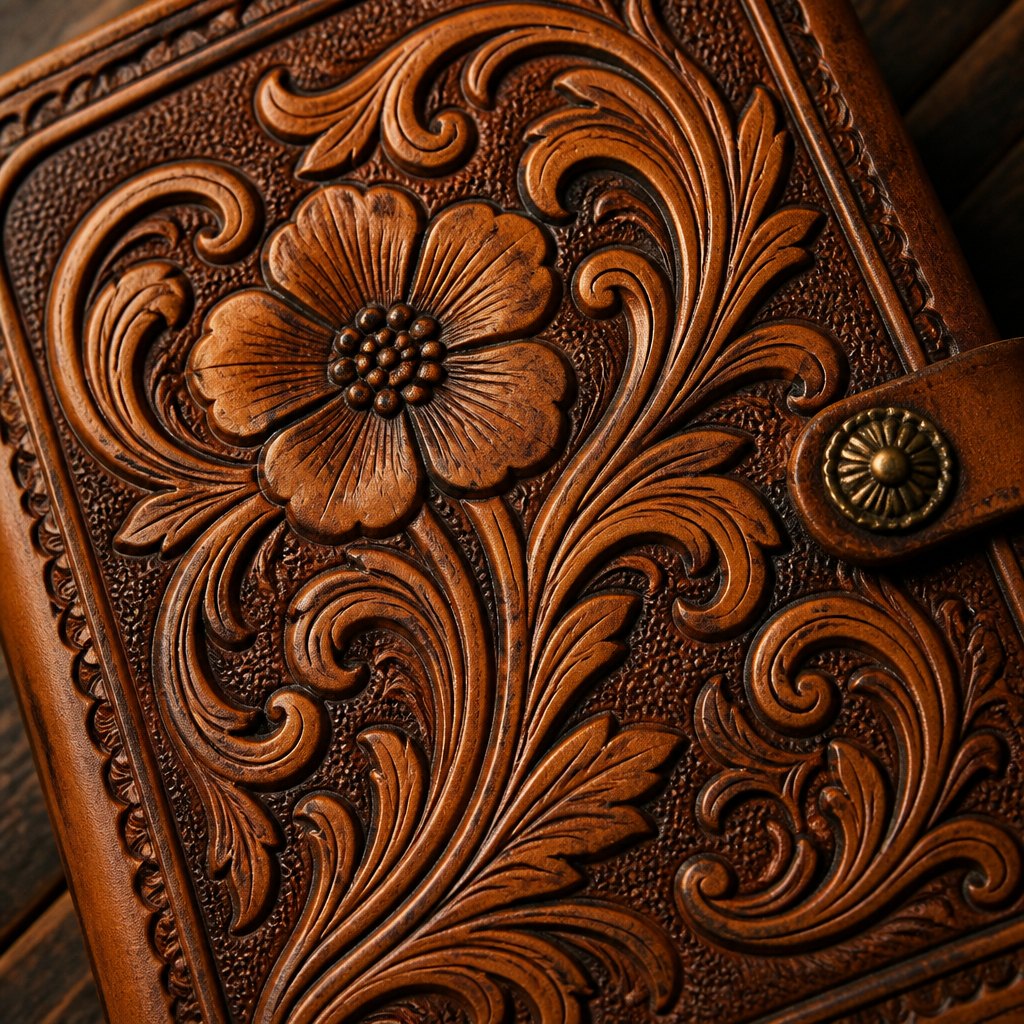 AI-generated
Try the medium
Try leather art with AI
This example was generated from a prompt like: “Close-up of a tooled leather journal cover with a floral scroll pattern, crisp swivel-knife outlines, beveled stamped background, warm tan hide darkened with antique dye, raking light revealing texture.”
Open the Leather Art Style generator →The medium today
Leathercraft today ranges from hobbyist kits producing wallets and belts to custom saddlers and bookbinders working full tooled surfaces by hand. Laser engraving and computer-controlled cutting now supplement hand stamping for repeatable patterns, while traditional swivel-knife carving remains prized for one-off, deeply relieved work. Tooled leather journals, bags, and cases sell through craft markets and online shops alongside more affordable machine-embossed goods.
Compose your own
Start with a scrap of vegetable-tanned leather, a basic tool set—swivel knife, a few stamps, a mallet, and a cutting mat—plus a spray bottle for casing. Dampen the leather evenly, trace a simple pattern onto it, and cut the main lines with the swivel knife held nearly vertical. Add stamps around the cuts to bevel edges and fill backgrounds, working slowly to keep pressure consistent. Once dry, apply leather dye or antique gel, wipe back the excess, and finish with a leather sealant or wax to protect the surface and deepen its color.
Frequently asked questions
What's the difference between leather tooling and carving?
Tooling generally refers to stamping texture and shading into leather with metal tools, while carving specifically means cutting design lines with a swivel knife before beveling them, giving a deeper, more sculptural relief.
Can any leather be tooled?
No—only firm vegetable-tanned leather holds tooled impressions well. Chrome-tanned leather, used for soft garments and upholstery, is too flexible and does not retain stamped or carved detail.
How is finished tooled leather protected?
After dyeing, a wax or acrylic leather finish is buffed or brushed on to seal the surface, guard against moisture and wear, and add a soft sheen without obscuring the carved detail underneath.
Do I need expensive tools to start leather tooling?
No—a basic starter set with one swivel knife, two or three stamps, a mallet, and cutting mat is enough to learn the fundamentals on small scrap pieces before investing in a larger tool collection.